 As you begin using Gmail, you most likely will want to create mailing lists of groups of people whom you contact together frequently. For example, a math teacher at the high school will probably want to contact the other teachers in her department on a regular basis.
 Creating mailing lists is easy in Gmail.
To access your Gmail contacts, click on the

next to the word Mail in Gmail (right) and click Contacts.
This will bring you to the Contact screen (below).


- Add New Contacts
- See a listing of your current contacts (My Contacts)
- See a list of contacts that you have Starred
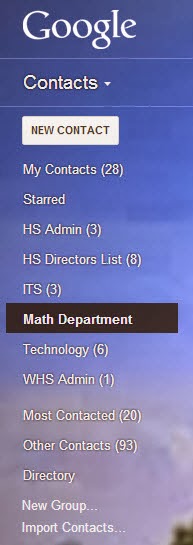
- See a listing of all of your current contact lists and the number of contacts who are part of that list
- See a list of your most contacted contacts, other contacts, directory of WPS employees
- Create New Groups
- Import Contacts from another email system.
 To create a new Contact List
 with a list of all members of perhaps the Math Department, I would click New Group (see green circle above).
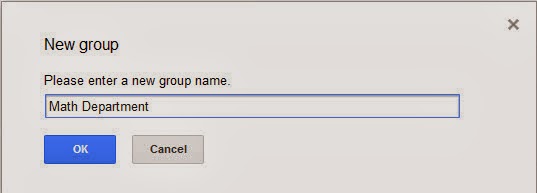
 This will bring up the New Group window where I will type in the name of my new group - Math Department (see right).
The new contact list will now appear in my left hand navigation bar. Notice that the group does not have a number next to it. This is because I have not added any members to the group.
If I click on the contact list, my (currently empty) contact list will appear on my page.
Adding Contacts to my Group

Contacts can be added to my group in a few of ways.
First, I can add a contact to the list by choosing the group and then clicking on the Add Members icon. Here I would type in the name of my contact(s) and click Add (see right).
Care should be taken to be sure that the email address that you add here is correct.
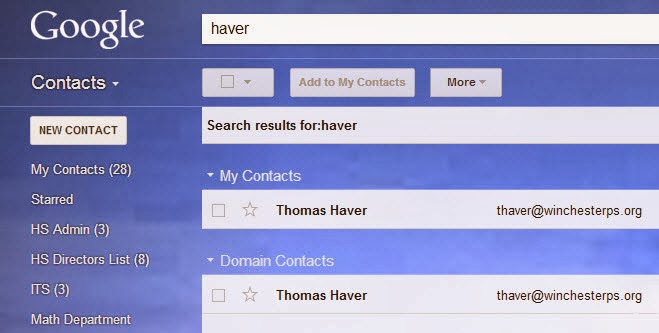 A second way of adding a contact is to search for the person in the search bar at the top of the page (see right).
For example, suppose that I wanted to search for the math director, Tom Haver. I could type Haver in the search bar and click enter. Then all people with the name Haver would appear.

Click on the box next to Tom Haver's name.
Then click on the Add to Groups icon (see right). This will give me a listing of all the groups that I have and allow me to pick which groups for which Tom should belong.
After I have chosen the groups, remember to hit Apply.
After Tom is added to the group, I will receive the message below. Notice I have the opportunity to Undo if I have made a mistake.
 A third way to add contacts is to add them from My contacts or from the Directory. Notice these groups in the left hand navigation bar (see right).
Both of these lists will give me a number of contacts from which I can select the boxes next to all of the names which I want to add to my new group.
For example, Gail Texin and Gayle Simeone both belong to the Math department. I can click both of their names, click the Add to Group button, check Math Department and then click apply. I have added both teachers in one step.

How do I use the Groups that I have created?
Once I have created the groups, I can now type in the name of the group instead of a person's name. All of the members of the group will now be added to my email.
No comments:
Post a Comment
Do you have any further questions or a suggestion for a later blog?